I was approached by a friend of a client who had seen a piece I made. The piece she saw is one that I have a build video for but still no way of editing such a lot of content. My video editor can only handle a tiny amount so I will have that post and video out as soon as I get some new software. Anyway she asked if I could make a desk. When I saw the picture of what she wanted, I was hesitant. I knew I could build the desk, I was just afraid my anxiety would rocket with all the work, and deadlines, and such. I decided if the only reason to say no was because I was afraid, then I had to at least draw up some plans and give her a quote. If she was okay with proceeding then, I'd tackle it a day at a time, if not, then at least I tried. She gave me the go ahead and I started in on the project. I'd like to share the photo she sent me but after lots of investigation, I couldn't find who to give credit for the piece or even the photo. It seemed as though it was a custom desk built for a client but I didn't get enough info to comfortably post someone else's work here without credit. I'll just show you the progress photo's in the order I took them and then show you the finished piece.
the start of the leg sections


frames for the drawer sections


all the pieces of the drawers except the fronts ready to be assembled. I actually had to cut them again to re-size them to fit with the drawer slides.

starting on the top of the desk


twenty four drawer slides installed (two per drawer)

twenty four more slides installed for the corresponding drawers

and all forty eight slides taken off to prepare for paint

starting on paint


it's hard to see but here is some of the distressing on the piece

twelve, I mean fourteen drawer fronts drying not sure how two extra got in there, but I'm glad they did because I needed an extra one when another one got badly scratched.

some more distressing on the drawer fronts.

reinstalled all the drawer slides and fit the drawers.

added the drawer fronts, I waited to put the top on till last so I had easier access to install the drawers and fronts

top is on but you can see in the next three pictures that the finish isn't very glossy, it also chipped off very easily so it was sanded off and in some places repainted which added an extra two weeks to the project


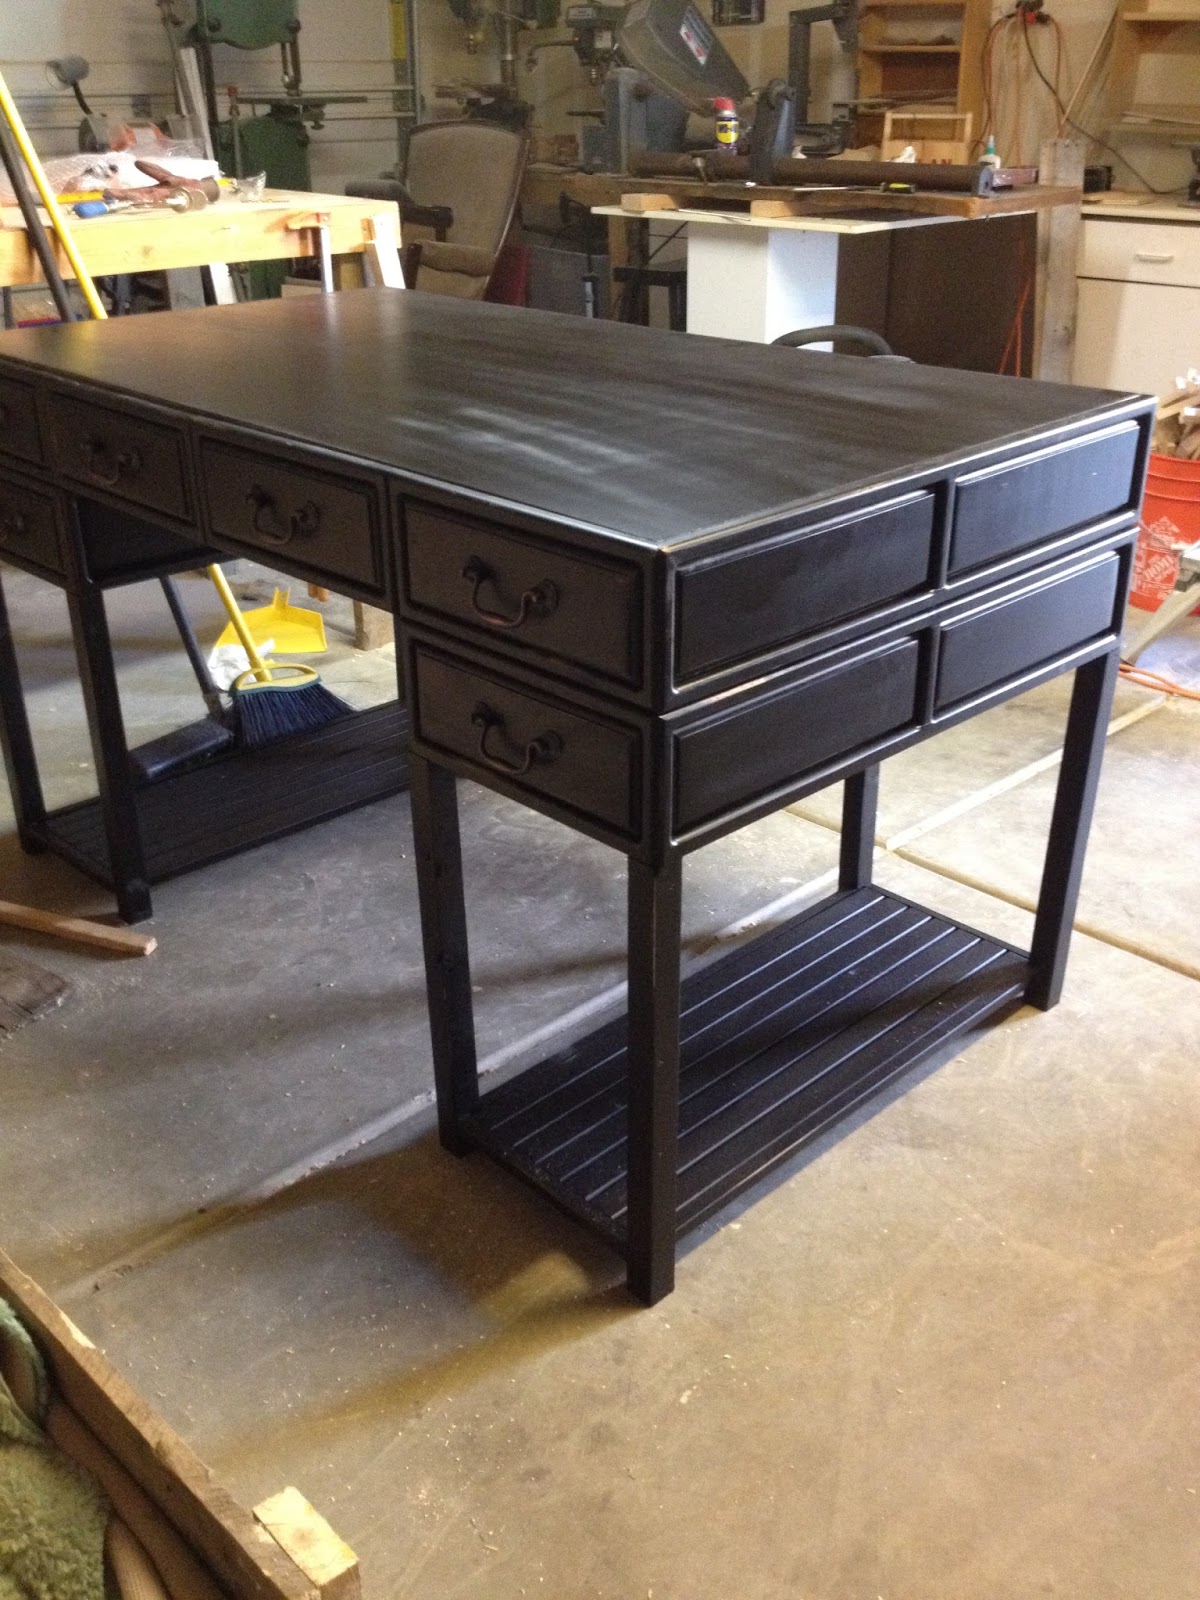
here you can see the new finish which was glossier and looked much better


I'm really glad I took on this project. It helped bring back the confidence that I could handle the work load and the rest of daily life at the same time. That being said I'm also really glad it's finished and I'm excited to start working on some projects for myself. I also made a quick video of the piece which is up on YouTube for those that want a better look, which I'll link to here: https://www.youtube.com/watch?v=R9ytgkTNEX4&feature=youtu.be
No comments:
Post a Comment